This is why I'm celebrating! I'm so thrilled to be the featured guest designer over at the Making Memories blog today to share some of the projects I've made using their adorable new Dilly Dally collection.
Can I share a secret? I love collecting fun papers and embellishments, but have a hard time using them. It's not that I don't know what to do with them, it's that once I punch or cut that first shape, my supply of them starts getting smaller. So I use them slowwwly and in little bits and pieces, thus preserving their spot in my scrap space for as long as possible. ;)
I really like to use small sections of my patterned papers as focal points. This card does just that. I trimmed this section of the flower paper, accented it with this great acrylic rose brad from the DD collection, trimmed it with a scallop border and then used the Shimmer Alphas to "write" my sentiment. Simple but cute!
There is a paper ribbon roll in the DD collection with a few different words on it. I just trimmed three of the words from it, cut tiny notches in each end and attached them under this beautiful fabric flower. Then placed the whole "medallion" piece over the top of more scraps to make this cute card.
This last card uses a little bigger piece of patterned paper, but then I accented it with smaller strips and another great fabric flower.
See how you can make your stash go farther? It's the little things that count!
Thanks so much for visiting me today and I would love you to visit the Making Memories blog to see the rest of my "scrappy" projects!
Wednesday, April 20, 2011
Tuesday, April 19, 2011
Something to Celebrate...
Sunday, April 17, 2011
Ink It Up!
Have you ever bought a stamp set and then had it sit for a few weeks months, unused, uninked? Well I've NEVER done that. *wink*
So I've decided to make myself use those stamp sets that I bought because I fell in love with them but have never used. I'm going to do a new little feature called Ink It Up! where I'll do a quick post that shows my unused stamp set and then a card or two I've created with them.
First up, this stamp set-
I saw this Hero Arts pennant set at my local scrapbook store awhile back and thought they were so cute! I do shy away from buying clear stamps sometimes because I don't think they produce really crisp results like rubber, but I thought I'd give them a go. The Poly Clear are awesome! (I will ALWAYS be partial to my SU! rubber stamps because I love the detail and the beautiful results, but it's fun to try new things).

So I've decided to make myself use those stamp sets that I bought because I fell in love with them but have never used. I'm going to do a new little feature called Ink It Up! where I'll do a quick post that shows my unused stamp set and then a card or two I've created with them.
First up, this stamp set-
I saw this Hero Arts pennant set at my local scrapbook store awhile back and thought they were so cute! I do shy away from buying clear stamps sometimes because I don't think they produce really crisp results like rubber, but I thought I'd give them a go. The Poly Clear are awesome! (I will ALWAYS be partial to my SU! rubber stamps because I love the detail and the beautiful results, but it's fun to try new things).
Look how cute the line-art pennant looks on patterned paper. How fun! And wouldn't some of those pennants make adorable Christmas trees for a card or scrapbook page? I'll try that this holiday season!
Thanks for joining me at the table today!
Monday, March 28, 2011
Kitchen Table Gadgets: My Paper Crafting goes Techie
Once upon a time, I had another craft blog. And on that craft blog, I did my own little unscientific reviews on products that I loved and found helpful in my paper crafting projects. I called it "In My Opinion". Well, I decided to resurrect that here at the Kitchen Table Studio. It will be aptly named "Kitchen Table Gadgets". Maybe you won't care about my opinions on things, but maybe, just maybe, you will. :)
First up, my iPad. Since my husband owns a Mac store here in town, we sometimes get to "try out" the fun new toys Apple comes out with. Case in point, my iPad awesomeness. He brought it home one day because he needed to get familiar with it so he could tell customers why they NEEDED one. ;)
I don't know exactly how it happened, but ownership of said iPad slid in my direction. Much to the disappointment of my boys. Maybe it was the way I batted my eyes at him when I asked if I could try it out. Maybe it was when he asked me to use it in my crafting projects because he was going to be on a local lifestyle television show to tout it as not just a "guy" toy. :) When Christmas came this past year, he asked me "Hon, is it okay if your Christmas present is the iPad?" Uh, heck yes!
I immediately set out to customize it for simplifying my paper crafting process. But first things first. I had to make it look not quite so manly. Out came the ribbon! Eventually, I'd like to get a more girly looking cover, but for now this works great.
One of the things I LOVE about my iPad is that I can watch YouTube on it. I'm subscribed to many crafting videos and all I have to do is touch the YouTube icon and all my subscriptions pop up. Our home computer is on the desk in our kitchen and I kept having to run up and down between my craft space and the kitchen to follow along with a tutorial. Now I just prop my iPad up and follow along, crafting as the video plays!
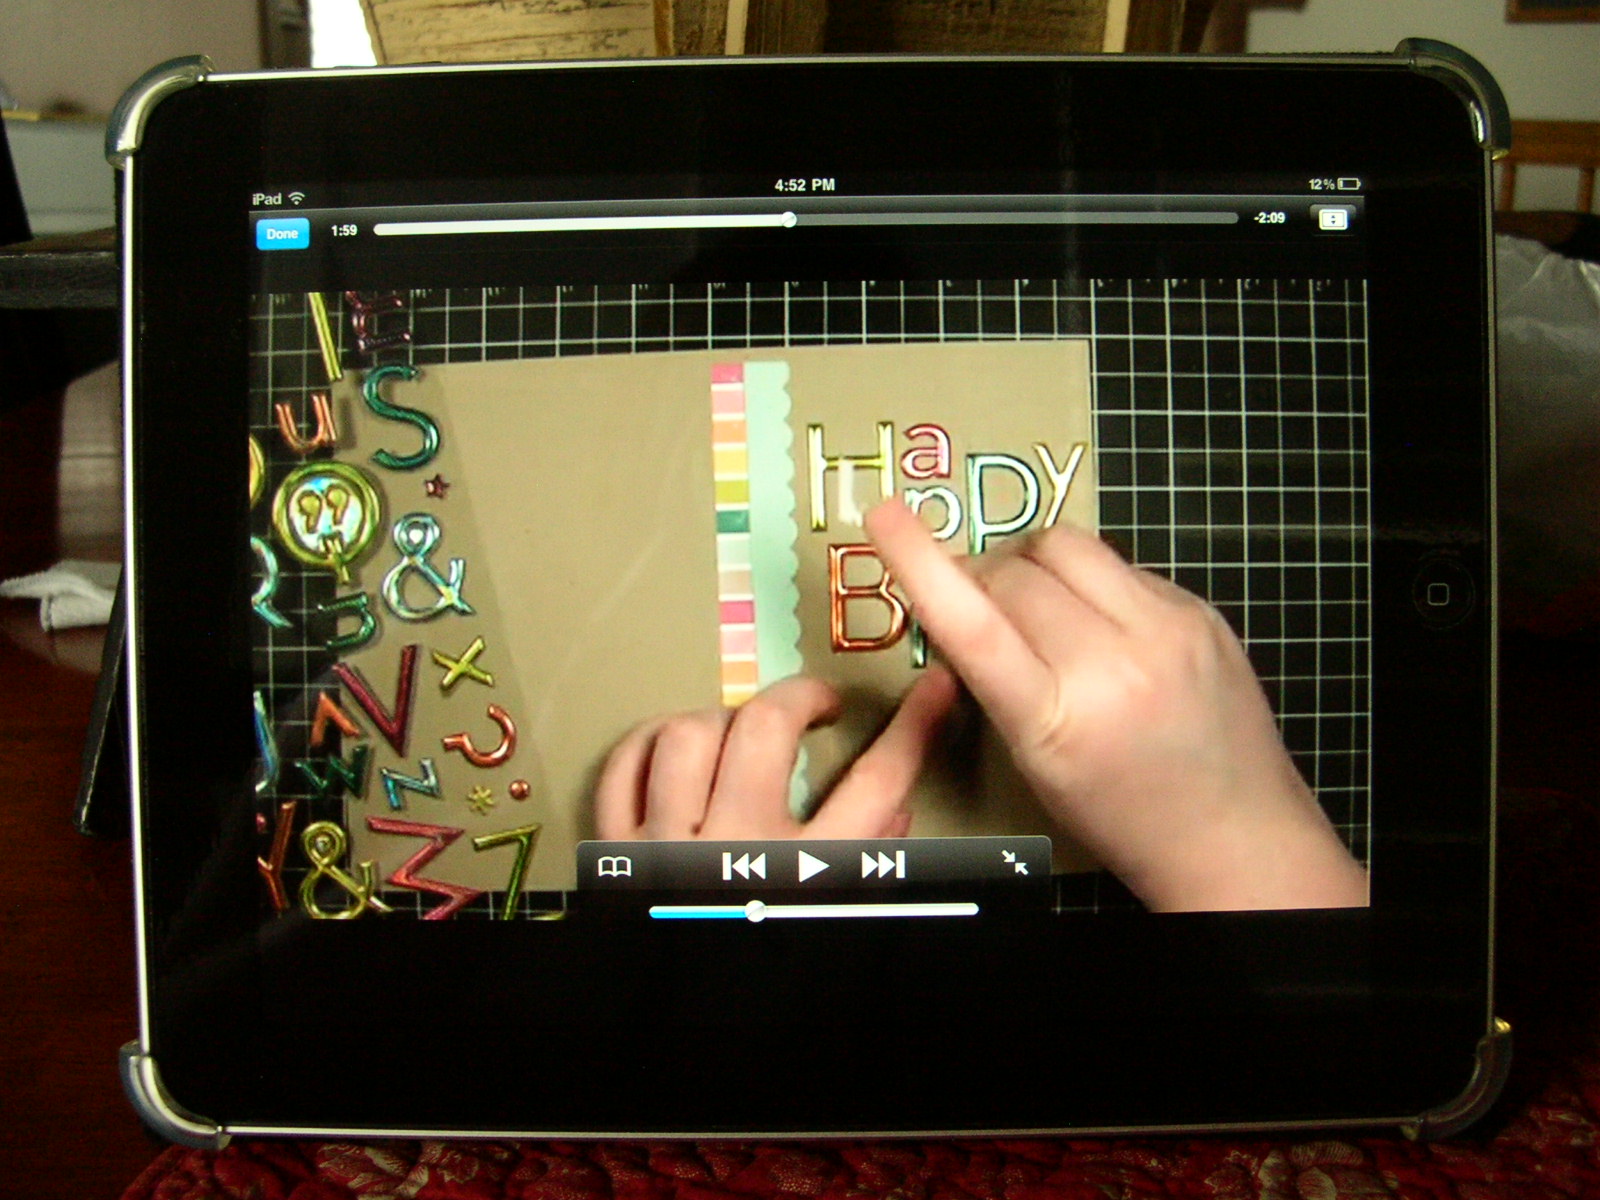
Another thing I love is that I can load my videos on the iPad. This one happens to be a Creating Keepsakes video I own. I use this feature the same way I do the YouTube videos, if I want to create something. I also love watching movies while I scrap. And how great to watch movies to distract myself from the pain of my treadmill workouts! Love watching videos while I sweat. :)
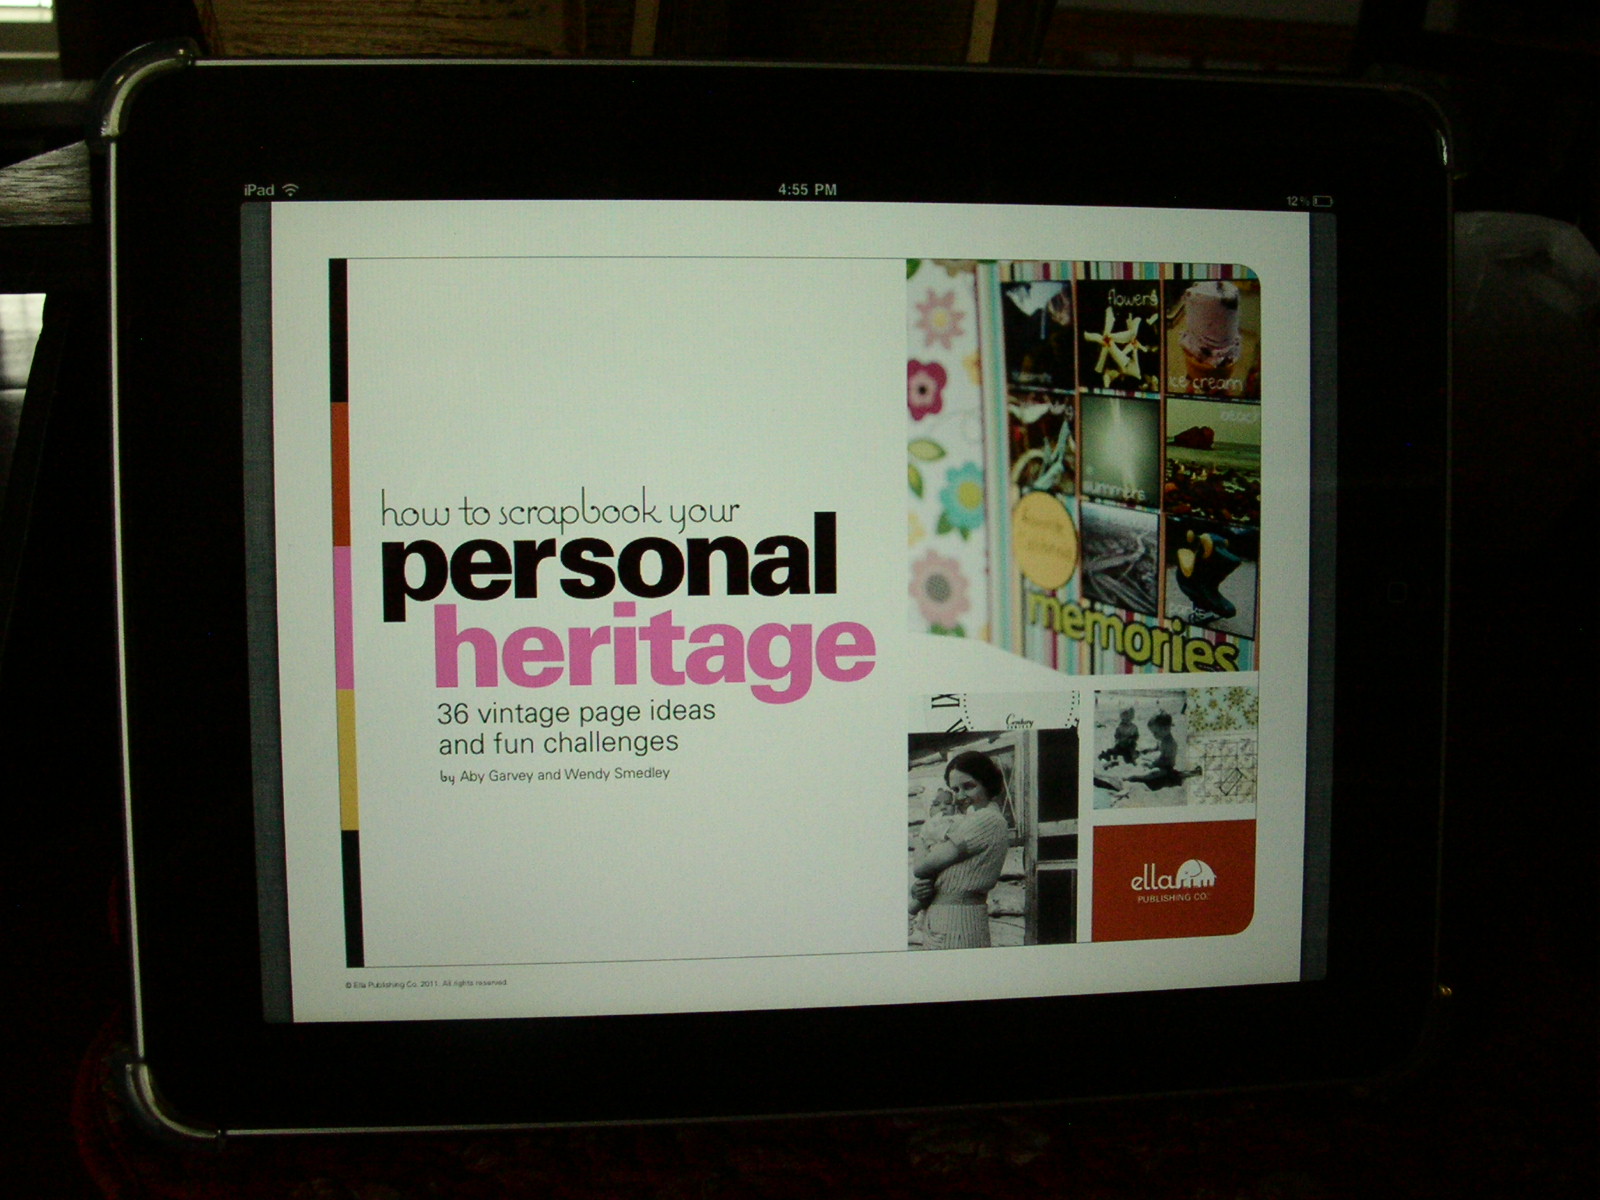
Another cool feature is using it to store my books and PDFs. Seriously. Do you see how many categories of instructions I have? I love how I can store dozens of e-books, PDFs and magazines in such a small space! I can't wait until there will be more crafting e-magazines. It will free up so much storage space in my craft area.
You should check out this FREE online scrapbooking magazine from Canada. It's awesome!
I don't have a picture of this, but there is a notepad feature on it as well. I can type supplies I might need or project ideas. No more misplacing loose sheets of paper. Whoo!
So there you have it. Several reasons you NEED to have an iPad if you don't already. Can you imagine?! If you go to crops, just tuck that baby in your bag and you have endless inspiration! Oh, and the iPad 2 is half the thickness and SO much lighter than the original. Score!
Thanks for stopping by. :)
First up, my iPad. Since my husband owns a Mac store here in town, we sometimes get to "try out" the fun new toys Apple comes out with. Case in point, my iPad awesomeness. He brought it home one day because he needed to get familiar with it so he could tell customers why they NEEDED one. ;)
I don't know exactly how it happened, but ownership of said iPad slid in my direction. Much to the disappointment of my boys. Maybe it was the way I batted my eyes at him when I asked if I could try it out. Maybe it was when he asked me to use it in my crafting projects because he was going to be on a local lifestyle television show to tout it as not just a "guy" toy. :) When Christmas came this past year, he asked me "Hon, is it okay if your Christmas present is the iPad?" Uh, heck yes!
I immediately set out to customize it for simplifying my paper crafting process. But first things first. I had to make it look not quite so manly. Out came the ribbon! Eventually, I'd like to get a more girly looking cover, but for now this works great.
One of the things I LOVE about my iPad is that I can watch YouTube on it. I'm subscribed to many crafting videos and all I have to do is touch the YouTube icon and all my subscriptions pop up. Our home computer is on the desk in our kitchen and I kept having to run up and down between my craft space and the kitchen to follow along with a tutorial. Now I just prop my iPad up and follow along, crafting as the video plays!
Another thing I love is that I can load my videos on the iPad. This one happens to be a Creating Keepsakes video I own. I use this feature the same way I do the YouTube videos, if I want to create something. I also love watching movies while I scrap. And how great to watch movies to distract myself from the pain of my treadmill workouts! Love watching videos while I sweat. :)
Another cool feature is using it to store my books and PDFs. Seriously. Do you see how many categories of instructions I have? I love how I can store dozens of e-books, PDFs and magazines in such a small space! I can't wait until there will be more crafting e-magazines. It will free up so much storage space in my craft area.
You should check out this FREE online scrapbooking magazine from Canada. It's awesome!
I don't have a picture of this, but there is a notepad feature on it as well. I can type supplies I might need or project ideas. No more misplacing loose sheets of paper. Whoo!
So there you have it. Several reasons you NEED to have an iPad if you don't already. Can you imagine?! If you go to crops, just tuck that baby in your bag and you have endless inspiration! Oh, and the iPad 2 is half the thickness and SO much lighter than the original. Score!
Thanks for stopping by. :)
Tuesday, March 22, 2011
Stamping on your Layouts
So, hopefully you weren't holding your breath for this post....because I forgot! Have I mentioned how much I love stamping? If not, let me say it now. I love stamping. My sister-in-law, Cindy introduced me to stamping about 15 years ago and I haven't looked back. I love that you can take one stamp and give it a different feel just by the colors you use, the application, or the project. When I first saw this cute little girl stamp from the Greeting Card Kids set from Stampin' Up! I, of course, thought of Valentine's Day, but I really wanted it to be more versatile so I decided to use it on a layout about love. And because it kind of has a vintage feel to it, I used it with a baby photo of yours truly. :)
The cute little girl image actually reminds me of some baby cards my mom received when she was pregnant with me.
Believe it or not, this was the best of the photos I took from this section of the layout. I either need a new camera or better photography skills! On the bottom of the page, I stamped the image in the same color as the paper (you could also use Versamark Ink to get a similar tone-on-tone effect). Then I took my Versamarker and colored in the hearts. Love how that turned out!
To finish off, I used some adorable heart die-cut patterned paper from Making Memories and a scalloped border sticker from Echo Park. Then added a few pearls and a small heart for good measure.
Do you stamp on your scrapbook pages? I'd love to see! Leave me a comment with a link to your project. :)
Thanks for stopping by!
Wednesday, March 9, 2011
Positive & Negative
Punches are really fun to use to add just the perfect accent to your projects, aren't they? A girl can never have too many punches. Now, I'm not really a "gotta have the trendy products" kind of gal (have you seen the jeans I wear?!). When butterflies first came out several years ago, I thought, "Eh." But the longer they have been out, the more they've grown on me. Luckily for me, now that I full-out love them, they are still very much in fashion and I own a few styles of butterfly punches. It's always fun to use the same punch in different colors. Hence these cards using Stampin' Up!'s butterfly punch and stamp sets:
I like experimenting with color. And it's fun to put the cools of blue, green, and purple with the warms of orange, red, or yellow. They balance each other nicely.
I do also like to get the most mileage out of the tools I buy so sometimes instead of recycling the negative images from my punching adventures, I actually like to incorporate them into my projects. For example, this card here:
I just cut the negative image into a rectangle, dry embossed it using my Big Shot and then put a scrap of cute patterned paper popped up on dimensionals behind. There again, the cool blue and warm orange. I tried to be creative with the embossing at the bottom of the card. I don't love the bottom embossing but it's not too bad. A simple card making use of scraps. I had a few more negative butterfly shapes and patterned paper scraps I love so I decided to incorporate them into a scrapbook layout. WARNING: Photo quality is horrible so if you click to enlarge, don't throw up because of dizziness. :)
Because I'm in love with these particular patterned papers and this color combo right now, I decided to make a layout of my little crafting corner of the world. The red starburst paper is Making Memories, The robin-egg blue is My Mind's Eye, the mushroom paper is Imaginisce, and the yellow flower is Sassafrass (I think). Those cute blue foam letter stickers are American Crafts Thickers and match that blue MME paper perfectly. The smaller black & white letter stickers are Making Memories. And yep, that's my old kitchen table in the corner of my master bedroom. My Kitchen Table Studio. I know. I'm so creative I can hardly stand myself. But whatever, LOL. There again, you'll see the patterned paper "popped" under the white negative butterfly shapes. I decided not to emboss them this time, because I didn't want that bottom corner to appear any heavier than it does already. I added some cute buttons and some other smaller butterfly punched shapes to try and balance out the other bottom corner. I purposefully adjusted the color on the photo so that it looked a little vintage. On a side note, all the layouts I do about me personally, I do in 8 1/2 x 11, and they go in their own album.
Tomorrow, I'll post a layout I did that involves stamping.
ThANkS for stopping by!
I like experimenting with color. And it's fun to put the cools of blue, green, and purple with the warms of orange, red, or yellow. They balance each other nicely.
I do also like to get the most mileage out of the tools I buy so sometimes instead of recycling the negative images from my punching adventures, I actually like to incorporate them into my projects. For example, this card here:
I just cut the negative image into a rectangle, dry embossed it using my Big Shot and then put a scrap of cute patterned paper popped up on dimensionals behind. There again, the cool blue and warm orange. I tried to be creative with the embossing at the bottom of the card. I don't love the bottom embossing but it's not too bad. A simple card making use of scraps. I had a few more negative butterfly shapes and patterned paper scraps I love so I decided to incorporate them into a scrapbook layout. WARNING: Photo quality is horrible so if you click to enlarge, don't throw up because of dizziness. :)
Because I'm in love with these particular patterned papers and this color combo right now, I decided to make a layout of my little crafting corner of the world. The red starburst paper is Making Memories, The robin-egg blue is My Mind's Eye, the mushroom paper is Imaginisce, and the yellow flower is Sassafrass (I think). Those cute blue foam letter stickers are American Crafts Thickers and match that blue MME paper perfectly. The smaller black & white letter stickers are Making Memories. And yep, that's my old kitchen table in the corner of my master bedroom. My Kitchen Table Studio. I know. I'm so creative I can hardly stand myself. But whatever, LOL. There again, you'll see the patterned paper "popped" under the white negative butterfly shapes. I decided not to emboss them this time, because I didn't want that bottom corner to appear any heavier than it does already. I added some cute buttons and some other smaller butterfly punched shapes to try and balance out the other bottom corner. I purposefully adjusted the color on the photo so that it looked a little vintage. On a side note, all the layouts I do about me personally, I do in 8 1/2 x 11, and they go in their own album.
Tomorrow, I'll post a layout I did that involves stamping.
ThANkS for stopping by!
Wednesday, February 9, 2011
A Project 2 Years in the Making. Warning: Lots of Photos!
Yes, that's right. Two years. I've procrastinated long enough but I finally have it done and I think it turned out great! I love mini-albums because they're so quick to create. Hah! Unless you're me.
I received a vinyl wall quote from Stampin' Up! a couple of years ago when I hosted a workshop at my house. I love it! When we finished our basement, I knew I wanted to put it up down there to warm up the space. But when I got it up there, it seemed like it was begging for something more. I had this peg board in my old house. You know, in the 90s. When Rose, Light Blue, and Periwinkle were hot colors. :)

Then I decided to make 4 mini-albums to hang from it. They probably don't need a lot of explanation, but I'll just tell you the theme of each album and give you a peek of my favorite pages in each.


So there you have it! A 2-year home decor project that shouldn't have taken 2 years. See that white board on the counter in the background there? That's a project that I started at least 4 years ago. I guess that one's next! Stay tuned! :)
I received a vinyl wall quote from Stampin' Up! a couple of years ago when I hosted a workshop at my house. I love it! When we finished our basement, I knew I wanted to put it up down there to warm up the space. But when I got it up there, it seemed like it was begging for something more. I had this peg board in my old house. You know, in the 90s. When Rose, Light Blue, and Periwinkle were hot colors. :)
So I pulled it out of storage and painted the heck out of it. I love the glossy black finish. It's hard to see that in the photo. But it's glossy. And pretty.
Then I decided to make 4 mini-albums to hang from it. They probably don't need a lot of explanation, but I'll just tell you the theme of each album and give you a peek of my favorite pages in each.
First is this one. Obviously the theme is some of our favorite photos:
I used lots of buttons on this album, making it nice and chunky.
Next up, photos about things we do at home:
Next is the holiday album. We love our holidays!
This is how I know I've been working on this project for 2 years!
Last, but not least, a few photos of our travels:
I even was able to use Photoshop well enough to add the quote to this cute luggage tag. Not sure I could do that again!
So there you have it! A 2-year home decor project that shouldn't have taken 2 years. See that white board on the counter in the background there? That's a project that I started at least 4 years ago. I guess that one's next! Stay tuned! :)
Subscribe to:
Posts (Atom)