Showing posts with label home decor. Show all posts

Tuesday, February 2, 2016

DECOR TO LAST ALL YEAR

Hello!

A lot has happened since I last popped in here.  My dad lived with us for a month then went back home because my nephew moved in to help him.  So far it's going pretty well.  I think my dad is realizing he can help himself more than he thought and although he still misses my mom terribly, I think he feels a little empowered.  I keep telling him I think he's strong.  Someday he'll believe me. :)

Things are feeling a little more back to normal except when the phone rings early in the morning and I think it's my mom calling to say hi. Ahh, I'm sure it's going to take awhile for me to get used to her not being on the other end.

Life keeps going though, and it comforts me that she is pain free and helping others on the other side.

Anyway, back to the purpose of my blog:  crafting!

Do you want me to tell you what I think is the BEST kit in the new Stampin' Up! Occasions 2016 catalog?

It's this!

{Photo courtesy of Stampin' Up!}

Meet the Enjoy the Little Things Project Kit!  It's an adorable home decor project kit that has 13 interchangeable display pieces that you can use all year long and for many years to come!

It was fun and easy to create each little masterpiece.  Some took a little longer than others, but they were all straight forward with the included instructions. Let me show you all the display pieces.


I'm so excited to display this on my mantle and change out the pages each month!  There is a coordinating stamp set, Enjoy the Little Things, you can purchase separately and I highly recommend it to complete this kit.  If you bought the kit, the stamp set, and the Fine Tip Glue Pen (which I also HIGHLY recommend.  Notice in some photos, how I didn't and my glue squished out the sides?), you would be at the qualifying mark to earn a FREE Sale A Bration item!

Thank you for sticking with me and please choose me, Rebecca Fellows, as your Demonstrator of choice when it comes time to ask any crafting questions or to place a Stampin' Up! order!

Thanks for joining me at The Table today!


Friday, October 16, 2015

COME ON, AUTUMN!

Hello!

I'm back again with another seasonal project to share.

Someone needs to tell Mother Nature that it's mid-October!  Where I live, it's usually chilly by now and my trees have colorful leaves that are starting to fall.  But as I sit here typing this post, all my windows are open and it feels like late Spring-early Summer.  Only two of my trees are following the calendar.  It's kind of hard to start feeling all cozy and sweaters with a warm breeze blowing in so I decided to make a new Autumn craft to help get me in the spirit of one of my favorite seasons.

Before I share photos, Let me just give you a little background on this craft.  I have a simple frame that I have on my gallery wall in my living room.  I found the frame at a thrift store and backed it in a vintage-old-book-paper-type of DSP that Stampin' Up! used to carry.

I use that frame to house different little banners I have made to display throughout the year.  Today I decided to make a new Autumn banner to hang there.


Here's how I made it.  I took some ivory tags that I've had in my stash for way too long and stamped them with the Hardwood background stamp in Tip Top Taupe.  

Next, the leaves.  I was fortunate enough to get my hands on the Witching Decor Project Kit.  My daughter, daughter-in-law, mom and I had SO much fun putting it together on World Card Making Day! You'll notice there's no link to it.  That's because, sadly, they ran out quickly and won't be getting any more. HOWEVER, don't fret!  You can still make your own gorgeous leaves with the Vintage Leaves Bundle.  Anyway, there were so many leaves left over from the kit that I just grabbed 6 to use for this project.  I added some texture to each leaf by stamping them with the design images from the I Think You're Great stamp set and heat embossing them with Versamark and clear embossing powder.  Then I sponged them in coordinating colors (Tangerine Tango, Cajun Craze and Delightful Dijon) and crumpled them up a bit.


After that, I used my Tombow Mono-Multi glue to adhere them to the tags.  

Because I was still trying to be thrifty and quick, I used some gold chipboard letters I already had in my supplies to spell out Autumn, adhering them also with my Tombow glue.

Now, just because I thought the project could do with a little more color, I pulled out the faceted sequins from the Brights Sequin assortment to accent each tag.

Here's a closeup of the embossed texture and the Old Olive sequin.  LOVE!

 Last, but not least, I used my Gold Metallic Baker's Twine to string all the tags together. And here it is in it's place of honor.


If it doesn't feel Autumn-ish where you live, pull supplies from your stash to make a cute project to bring the season in!

Thanks for joining me at The Table today!


Thursday, September 24, 2015

BE OUR GUEST

Hello!

I was asked to do a guest post on the We R Memory Keepers blog today! I used fun papers and fabulous tools to FINALLY complete my inspiration/gallery wall in my craft room.  I may or may not keep walking in there just to stare at all the happiness!

Check it out here:  We R Memory Keepers Blog.


This fun perpetual birthday calendar was made with an amazing FREE printable at Lemon Thistle.  Check her out too!

I'm working on giving my craft table chair an updo so stay tuned for that!

Thanks for joining me at the Table today!


Monday, April 28, 2014

We R Memory Keepers National Scrapbooking Day Blog Hop!

Hello!

Welcome to my little stop on the We R Memory Keepers blog hop!  You should have come from Pam Bray's gorgeous blog.

We wanted to get you excited for National Scrapbooking Day which is this Saturday, May 1st!  How will you celebrate?

For my project today, I'm actually setting aside my photos and journaling pen to make a little home decor piece.  But it's for my scrapbook room, so that still counts, right?

I recently acquired a room of my own for my crafting {yay!} and I'm slowly purging older supplies, organizing the supplies I love, and decorating to make this room a place of inspiration just for me.

When We R came out with their stitching templates, I was so excited!  I love the look of embroidered samplers.  I decided to combine embroidery with my Silhouette to make this:


I first started with a piece of white textured card stock that I cut to 8 x 10.  I used a light pencil line to trace around the frame opening, then took my ruler and drew light lines vertically and horizontally to find the center for my phrase.  Then I went to town piercing and stitching.  Did you know We R Memory Keepers has floss in a ton of colors and textures?  I may or may not have a whole drawer full of We R floss and twine. ;D


I love how easy it was to combine words from the template to make a custom work of art!


I really like the word 'lovely' so 'lovely moments, lovely life" seemed like the perfect sentiment to add to my craft room.  Could it be all those British period dramas I'm addicted to? Maybe.... But in any case, it also reminds me to keep looking for those lovely moments that I sometimes overlook in life.

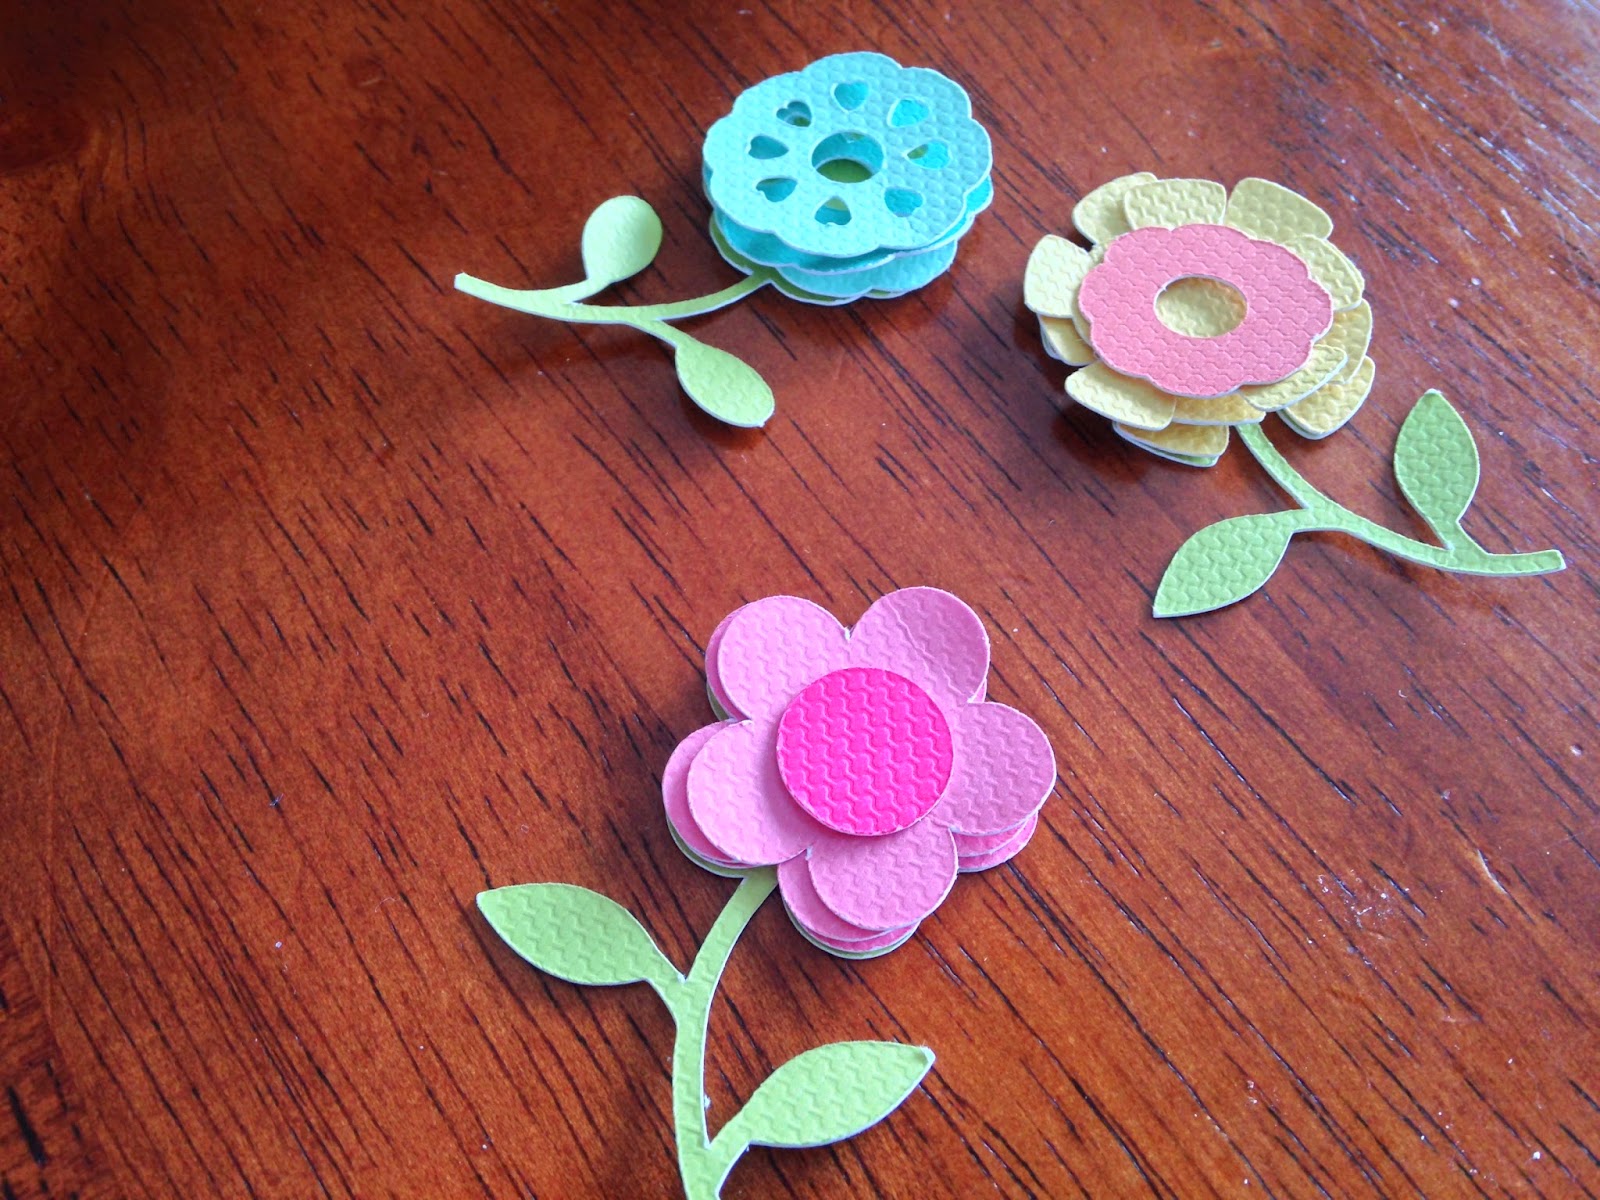
Once all the stitching was done, I took a variety of colors of We R textured card stock to cut my cute flowers.


 On a side note, I know I've said this on my blog before, but We R textured card stock is my absolute FAVORITE card stock to use with my Silhouette.  It cuts so smooth and clean.  I never have a problem with it!


Then came the fun part of deciding exactly how I wanted my flowers to look.  A simple flower garland, top and bottom, lends itself to the sampler feel, I think, and I love how the card stock gives added texture to the project.

To finish it off, I used some We R enamel dots for a few of the flower centers and the dot on the 'i' and then placed it in a fun wooden frame I painted white.  Here it is on what is the start of my crafty gallery wall.  By the way, that shutter is from We R as well.  Isn't it fabulous?  They come in several colors!


I love, love, love how this turned out.  Very simple, yet clean, fresh and girly.  Something that I'll enjoy looking at for years to come.

I hope you found some inspiration here today!  Your next stop is the very talented Patti Hamil.

If you joined our hop anywhere in the middle, here's the complete list:

We R Memory Keepershttp://wermemorykeepers.wordpress.com
Traci Penrod - http://www.artsyalbums.com
Shannon Morgan - http://designsofapaddymack.typepad.com
Jennifer McDermott - http://wonkywares.blogspot.com
Amanda Johnson - http://asjmade.blogspot.com
Aly Dosdall - http://alydosdall.blogspot.com
Pam Bray - http://www.pammejoscrapbookflair.com
Rebecca Fellows (you're here!) - http://mykitchentablestudio.blogspot.com
Patti Hamil - http://www.mypiecesoftime.blogspot.com

NOTE:  Once you have finished visiting all the blogs in our hop, don't forget to head back to the We R Memory Keepers blog and leave a comment about any of the projects you've seen today for a chance to win the awesome new Flower Punch Board!


Thank you for joining me at the Table today!


Friday, January 10, 2014

Game Day at CHA!

Hello!

Guess what time it is?  It's time for CHA Winter 2014!  I was privledged to be able to make some samples to hang in the We R Memory Keepers booth.  Dang I wished I could be there to see the booth in person and feel the excitement of new products that are being introduced to the crafty world.  Sigh.  Someday.  Maybe.

Today I'm sharing the samples I made with the Game Day collection.  I have 3 boys and a husband which means I'm very familiar with home plates, 50 yard lines, and free throws.  And lets not forget the soccer lover in your life.

And here you go.  I promise you're going to love the colors and patterns as much as I do:

photo courtesy of We R Memory Keepers

photo courtesy of We R Memory Keepers

photo courtesy of We R Memory Keepers

Make sure you stop by the We R Memory Keepers blog to keep up on all the latest and greatest products!  There's a new punch board that you definitely want to check out!

Thanks for stopping by the Table today!


Friday, December 27, 2013

A Silhouette Chalkboard Ornament

Hello!

I hope you all had a wonderful Christmas celebration.  My family and I enjoyed lots of food, games, movies and FaceTime with our missionary daughter.  It was a wonderful day.

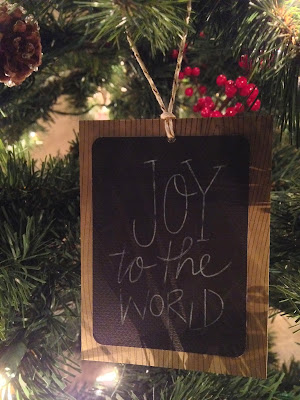
I thought I'd share one more Christmas post before the year is through.  I was totally inspired by a project Kimberly Crawford made for her tree.  I fell in love with it.  It takes advantage of the sketch feature on the Silhouette.


It was so fun replacing the blade with the white sketch pen and watch the magic happen.  I LOVE how these little chalkboards turned out and they add so much to my rustic Christmas tree decor.

Thanks for joining me at the Table today!

SUPPLIES USED:

PAPER:         Soft Suede – Stampin’ Up!
                        Black Textured – We R Memory Keepers

STAMPS:      Woodgrain background – Stampin’ Up!

INK:               Early Espresso – Stampin’ Up!

OTHER:        Gold Baker’s Twine – Stampin’ Up! (will be available January 1 in the Occasions Mini)
                        Die Cut Machine – Silhouette Cameo
                        White Sketch pen – Silhouette America
                        Sketch Designs (#52565, #52564, #52562, #52558, #52561, #52606, #45150)


Friday, December 13, 2013

Silhouette Home for the Holidays

Hello!

I've been playing with my new Silhouette Cameo and having a blast.  Tonight I decided to whip up some cute snowflakes out of vinyl and apply them to my front door to dress up the little windows, like this:

Outside

Inside
The snowflakes are all from different sources but the second one from the left (on the inside shot) is a We R Memory Keepers snowflake that you can find in the Silhouette Store (#38815).

Thanks for joining me at the Table today!


Friday, November 29, 2013

On the day after Thanksgiving….

Hello!

Since I'm not out braving the crowds on this fine Black Friday, I thought I'd pop in and tell you that I have a fun Advent Calendar idea on the We R blog today.

I made it with the new Candy Box Punch Board.  Go check it out!

Photo courtesy of We R Memory Keepers


Thanks for joining me at the Table today!


Wednesday, November 27, 2013

Harvest banner

Hello!

Here I am procrastinating again.  I made a Fall banner for my gallery wall although I'll be taking it down in two days to put up my Christmas decor.  Oh well.  I'll just say that I'm ahead for next year. ;)

I pulled out the Harvest collection from We R Memory Keepers.  This isn't a traditional Autumn themed collection.  It definitely has some of those Autumnal colors, but they've also included a muted mint/aqua and navy-ish colors.  The colors  remind me of a Fall evening.  There are lots of visual textures in the papers as well, which makes creating simple.  I don't feel like I have to add lots of embellishments yet there is a lot of depth.    I love it this collection!  Do I say that about every We R collection?  What can I say?  They do a great job!


I decided to keep my Fall banner simple and maybe a little on the sparse side….it reminds me of the trees outside my window.  They just have one or two leaves left and maybe a few berries or fruit.

I love that We R included a fun chevron chipboard alpha that coordinates with the papers.  I layered those with some of the embossed stickers, We R textured card stock, and candy dots from Stampin' Up!  Then to fill up in-between the leaves (which I cut with my Silhouette), I used patterned paper and washi tape from We R and washi from Stampin' Up!  Then I attached it all to some We R sparkly twine with my tiny attacher.  I love how it turned out!


Take your cue from me and create something Fall-ish.  It's not too late!


SUPPLIES USED:

PAPERS/EMBOSSED STICKERS:          Harvest collection (We R Memory Keepers)
TOOLS:                                                         Leaf shapes (Silhouette store)
                                                                        Silhouette Electronic Die cutter
                                                                        Tiny Attacher (Tim Holtz)
OTHER:                                                        Black Velvet Ribbon (We R Memory Keepers)
                                                                        Orange Washi tape (Stampin’ Up!)
                                                                        Woodgrain washi tape (We R Memory Keepers)
                                                                        Candy dots (Stampin’ Up!)
                                                                        Glitter (neutral) Fancy Floss (We R Memory Keepers) 

Thanks for joining me at the Table today!